Monday, June 1, 2020

Garage Organizing - part 37 -- Putting a surface on a rolling base platform

I have a couple of these low metal rolling platforms.  One is currently being used to store the drafting table outside.  This second one will be used to store some bins with stuff in it.  But, before I can put the bins on it, I need to put a "floor" on it.  I have some 1/2" thick wood from IKEA that I'll cut to size and screw to the rolling base.  Using a circular saw (on my folding Stanley work bench), I cut three pieces of wood to size & drilled holes to match some existing holes in the corners of the base.  I tapered the holes so that I can use some flush fitting screws.  The first piece of wood has been located on the base in this picture.

I had to drill new holes in the metal base for the middle piece of wood.  The screws and nuts that I'm using are some old hardware I bought somewhere a long time ago.  I found these in one of the hardware storage bins that I've reorganized.  These screws have a flat head and the nuts that go with them are square nuts (not hex).  I'm guessing that this hardware is about 75 years old... I have this very old "beehive" wood handle flat head screw driver that's perfect for this job.

Located the last piece of wood floor...

Need to install the nuts on the bottom side...

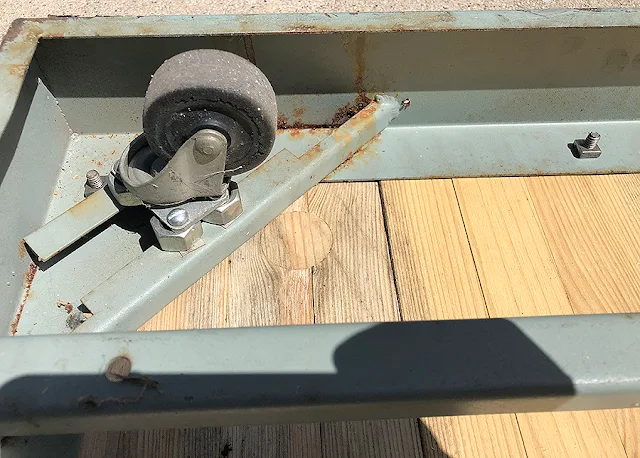
The corner crews near the built in casters...

The square nuts being installed.

The base is finished.  I was able to stack seven large storage bins on the base and am able to easily move the bins around now...

I had to get everything that's been sitting scattered outside into the garage, since it's supposed to rain tomorrow.  I had this base waiting outside to be finished and some empty storage bins.  I brought the empty storage bins inside the garage, as well as this base.  I'm all set for the rain tomorrow...

No comments:

Post a Comment