Friday, December 25, 2020

Tuesday, December 22, 2020 -- Hang Glider Spot - Manhattan Beach Pier - Marina Del Rey Bridge...

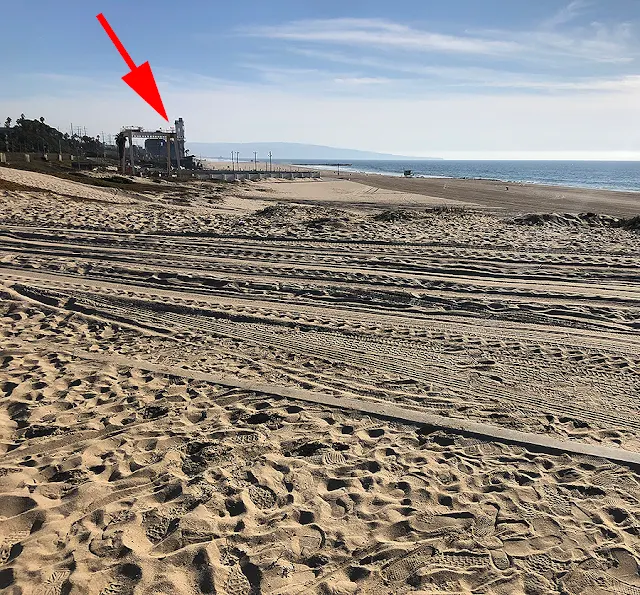
Stopped at the hang glider spot on the way to the pier.
Made a slight adjustment to the rear derailleur cable to improve the shifting...


This is looking north from the hang glider spot.


Looking south from the hang glider spot.


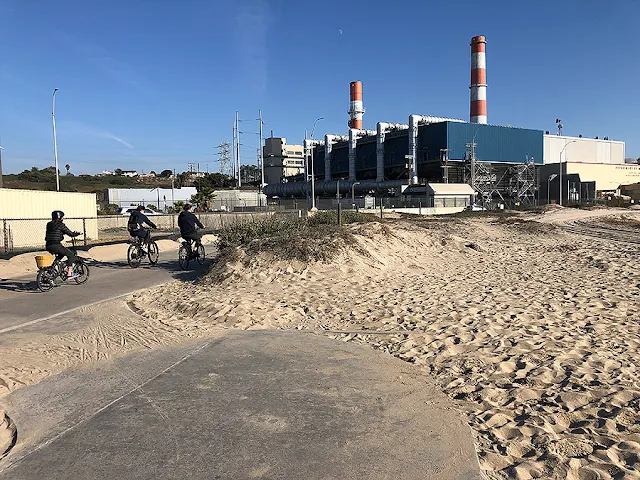
Near the hang glider spot is the power plant.
The green dotted line is where the bike path goes...


Along the lower part of the power plant, there's a straight stretch of the bike path along the properly line that's a good for a "sprint" or "time trial" type of riding, if that's desired...

Sometimes, I bring up the perceived effort from about 60% to about 80% through this stretch, if I'm feeling good...


At the Dockweiler beach parking lot, there was some people trying out a wind-board.  The wind wasn't too strong at this spot so they were going pretty slow...


The retaining wall in the location where I switch from the bike path to the service road appears to be finished.
I didn't notice any construction machinery any more...


Looking down the service road.  It's straight & I stay on it for about a mile or so...


Bike path on the left and the service road on the right.


Stopped at the bike path bridge at Marina Del Rey.
This is where the bike path turns away from the ocean and starts following Ballona Creek inland...


Ballona Creek on the right & Marina Del Rey on the left.
Water on both sides for about 1/4 mile or so...

It's straight and usually the wind is pushing you from behind.


Tempura...

Some of what's being made into tempura.
Not shown are fish, shrimp, nasu & mushroom...


multi-tasking...


Bike shoe "bodge" #2 -- failed...

After the cassette replacement, went for a ride.
The 28 teeth large gear is a little too big for the rear derailleur.
The jockey wheel "cage" is on the short side and is really meant to work with a 25 teeth gear, at the biggest...


The bike shoe bodge #2 also failed.
Adhesive does not seem to be the way to go...


Replacing the rear cassette on the Cannondale -- part 1 -- Removing the old worn cassette

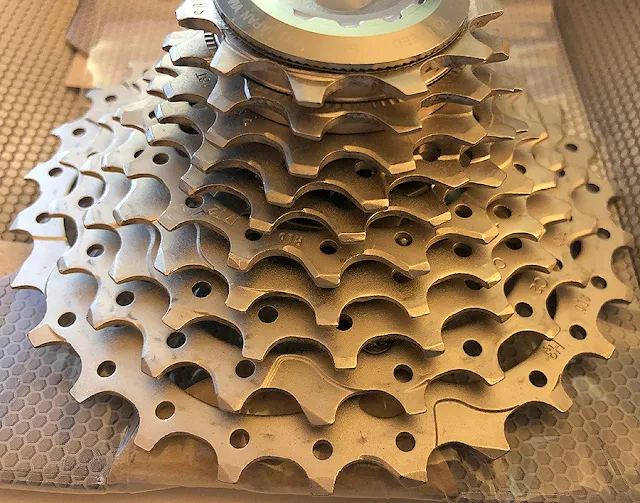
I bought a slightly used cassette.
According to the seller, it was used for a couple of weeks only.
Even came in the original packaging.


Ultegra 10 speed, 11-28 teeth.


There's the slightest marks of use.
It's almost new & very clean.


Used a chain whip tool to hold the cassette while loosening the locking ring with the special tool.
The special tool has a 1" hex head.


The lock ring is completely loose at this point.
Once the locking ring is off, the cassette can simply be slid off as a unit...


This in the inner side of the lock ring.
Amazingly dirty and full of sand...


The back of the original gear cluster is packed with sand and dirt!


The rear hub spline area is also very dirty.
Will need to thoroughly clean this area before installing the new cassette...


Comparison of the old and the new.
I think the old cassette was 10 - 23 teeth.
It's great for having very small jumps between the gears but when going up steep hills, the largest ring is not large enough.
The new cassette with the 11 to 28 teeth range is better for climbing.
The only problem is that the original rear derailleur may not have a long enough freewheel cage to move the chain up to the 28 teeth gear.
Will find out later when installed...


The quality of the Ultegra components are nearly as good as the Dura Ace.
The significant difference is in weight (Dura Ace being slightly lighter).
Some think that the Ultegra components are more durable than Dura Ace.  I'm not so sure but both are very good quality.


Both the Dura Ace and Ultegra lock rings are made in Japan.