Friday, October 4, 2019

Schwinn Paramount -- Cleaning the Frame (about 2/3 done, working from the front to back...)

In this and all the pictures that follow, what's being shown is the "after" cleaning picture.  The frame was pretty dirty/greasy and some areas required some elbow-grease to get all the dirt/grease/stain off.

Other than some paint loss/scratches, the bottom bracket area is in pretty good condition. 

Rear view of the bottom bracket area (have not cleaned the chain-stays fully yet, as can be seen from the dirty LH side chain-stay tube.


Down tube bottle cage inserts

The seat tube bottle cage inserts

RH side view of the seat clamp area after cleaning


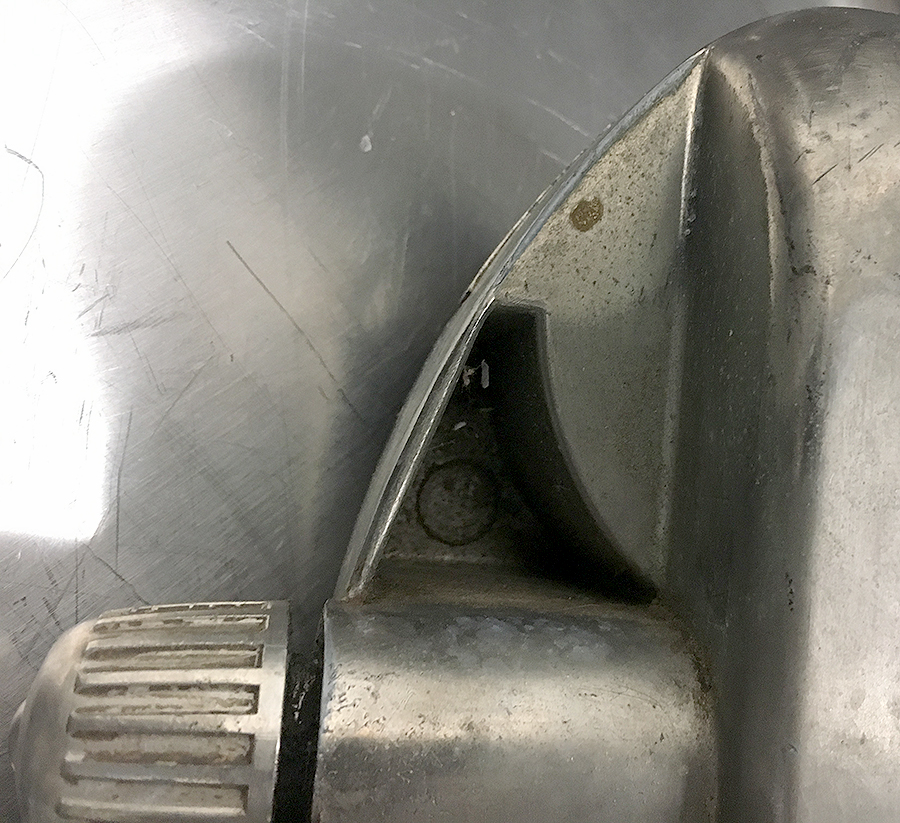
Close-up of the seat clamp area.  Other than the areas of paint scratch/loss, it's in OK condition.

Looking down the downtube at the bottom bracket.  Looks really good in terms of paint condition from this limited view...

The frame is set up for two water bottles.

The RH side Paramount sticker on the downtube has  a few spots where the yellow letters are missing some color.  Might be able to touch it up...

RH side view of the headtube area

The Paramount "P" sticker on the headtube is in OK condition

The serial number in at the front bottom of the headtube

The LH side "Paramount" sticker is in pretty good condition

LH side view of the bottom bracket area

LH side of the seat post

The "Schwinn Quality" sticker is in good condition.

The "OS oversized" stickers are in good condition


Kowa Tool Cart -- Cleaning the Tool Insert Trays

This is the lower tool tray area (with the roll up lid open).  Took out the plastic tray and cleaned inside (this is after the cleaning). 

Cleaned the plastic tray and reinstalled (forgot to take a picture before cleaning) 

Only three tools came with the cart (out of 11) 

This is the upper tool tray (with the flip up lid open); close-up of the upper left area of the tray 

The entire tray before cleaning 

Took out the tray and tools.  The area around the edges are pretty dirty... 

Close-up of one of the corner areas of the upper tray space 

Tray before cleaning 

Upper tray area after cleaning.  The darker red of the inside is the color that the entire cart was originally.   Much of the outer surfaces that have been exposed to light have faded to an orange color... 

The upper plastic tray after cleaning and reinstalled... 

Tools that came with the cart put back in their places.  It's missing about 1/2 the tools... 

This is the lower tray with one of the screw drivers that was in the upper tray placed in the lower tray.  It fits better in the lower tray so I think it probably belongs in the lower tray. 

This is the upper drawer (in the lower part of the tool cart).  It's designed to hold small items with dividers built in.  Either small tools or parts.  The loose hardware came out of the edges of the upper tray area (below the plastic insert).  They were "lost" in the space between the plastic tray and the cart frame edge...

Maritime Rule -- Initial Cleaning

Trying out different cleaning methods.  The shiny spots towards the bottom show the effects of using a rust removing chemical and using steel wool.

Based on the testing, will go with the chemical method.

After initial cleaning with the chemical (still needs work...)


Vintage DeVilbiss Air Pressure Regulator - continuing the cleaning (the bottom half)


After cleaning the bottom half