


 |
| This is a bicycle cover for when transporting on a roof rack. It's folded up inside of it's carrying bag... |


 |
| Removed all bolts/screws & one bracket. It's ready to get a coat of black wrinkle finish paint. But first, all the places that don't get paint would need to be masked. It's a very tedious process with tape & an Exacto blade... |
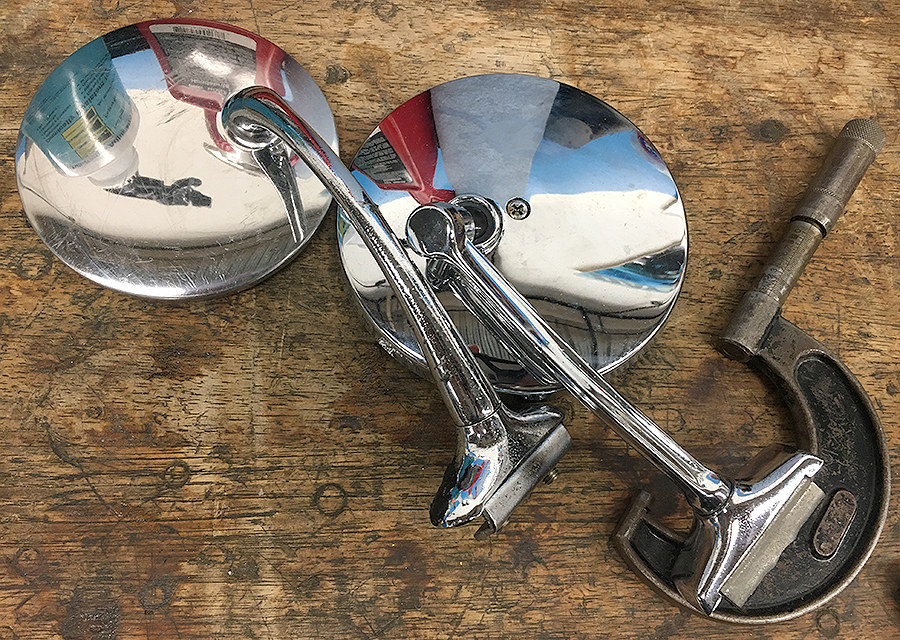 |
| Used Jaguar mirrors and a Starrett micrometer |
 |
| Wrenches, a key cylinder, front brake caliper & hardware from the Honda valve cover... |
 |
| Campagnolo bottom bracket |
 |
| This is the second caster being installed. This is one of the rear casters. Learned a lot from installing the first one. The holes need to be precisely placed to have the right clearance from the edge of the metal flange and from the center of the caster, otherwise, the nut/bolt will be too close to something to be able to turn. The holes were center-punched so that the drill bit will follow the location exactly. |
 |
| Very precise hole locations. Also, used a slightly larger drill bit (versus the first installation) to give a little bit more wiggle room without sacrificing the amount of flat surface that the nut/bolt would sit on. |
 |
| The second caster installation went very smoothly. Some of the bolts are installed from the inside-out, because it would be nearly impossible to put the nut on from the inside (too much stuff in the way). |
 |
| Start of installing the third caster (one of the front locations). Again, using precise hole locations. The two locations on the right side of the above picture go into a closed off area (no access at all). So, I am using large (#14) sheet metal screws with a hex head. The hole was drilled just a hair larger than the shaft of the screw so that the threads of the screw would have maximum bite to the sheet metal. Also, the holes need to be as far away from the center of the caster as possible to have enough clearance space between the center and the hex head sheet metal screw, so that I can get a socket on the screw. |
 |
| The third caster installed. The two hex head screws are at the top of this picture. |
 |
| The hex head screw is shown at the top of this picture, along with the bolts being used. This is the last caster being installed. The two sheet metal screws are installed at the left side of this caster. |
 |
| All the casters have not been installed. The two bolts for casters that are in the inner side, towards the centerline of the cabinet, stick up into the cabinet space by the thickness of their heads. They should clear the drawers because the drawers have a small gap at the bottom to allow space between each of the drawers. I'll find out if they clear once I turn this cabinet over and install the drawers (ran out of time). |
 |
| Missing the largest tap. After cleaning     |


