 |
| All the parts cleaned and ready for reassembly. |
Friday, January 25, 2019
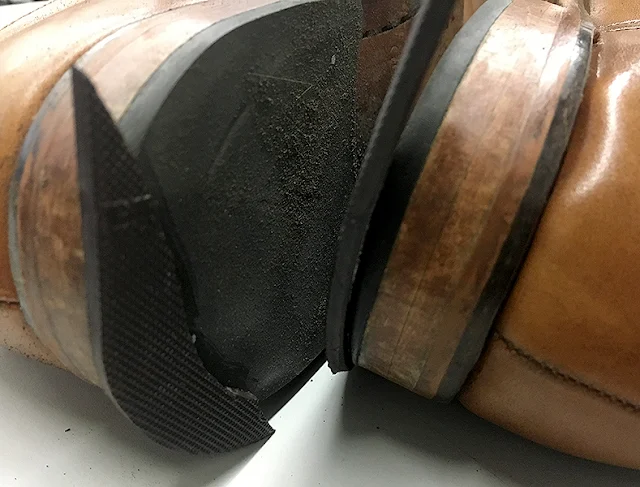
Thin rubber half-soles and heels installed on a well worn pair of shoes
 |
| The bottoms were sanded down to be flat & the worn corners were sanded down to be smooth for application of a patch. Using rubber cement to apply the patches. |
 |
| Ready for trimming and sanding flat... |
 |
| Trim most of the rubber with a knife. |
 |
| Sand the bottom flat and sand the edges close to the final shape. |
 |
| Patching complete. Now the heels are flat. |
 |
| The new heels were trimmed to be pretty close to the final size (about 5 mm over). |
 |
| Sanded the front of the soles (1/2 soles) of the shoe to create a clean and slightly rough surface in preparation of bonding the thin rubber half-soles to the front portion of the shoes. |
 |
| Same rubber cement process is used. |
 |
| After trimming with a sharp knife. |
 |
| Using a sanding station, sand the excess rubber so that it's flush with the shoe's sole. |
 |
| After sanding to size (both the sole & the heel). |
Christmas-New Years break in the UK -- Part 6 -- House Rented in London & the London Science Museum
 |
| Three story home with many bedrooms and two baths. We used three bedrooms... |
 |
| Entrance area to the Science Museum. Cool bike display overhead... |
 |
| James Watt |
 |
| James Watt's workshop equipment was on display. Some pretty cool and complex tools. |
 |
| A very early (turn of the 20th century) motorized trike. |
 |
| Small cars from various nations. |
 |
| The science museum has a pretty amazing collection of early aero engines. Unfortunately, they're displayed poorly so it's difficult to look at the engines (& to take photos). |
 |
| Airplane wheel, as it transitions from wire spokes to cast (in this case with an integral drum brake). |
 |
| Early airplane cockpit with foot operated controls and various levers & a steering wheel... |
 |
| An actual Enigma machine, as used by the Germans in WWII. |
Subscribe to:
Comments (Atom)


