 |
| The front Brake is sticking (won't release once applied) and the front derailleur don't shift). The LH brake lever/shifter is pretty damaged from several crashes. |
 |
| The metal cap in the front is pretty dented up. This picture shows the shift cable housing coming out of side of the assembly. |
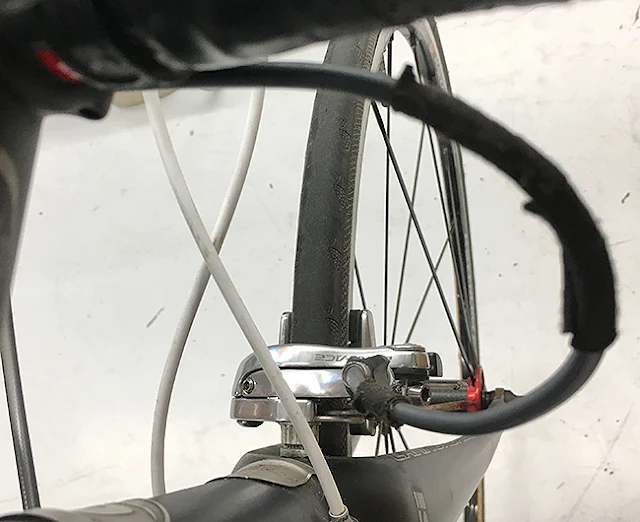 |
| This is a picture of the brake cable as it enters the top of the front brake. Nothing obviously wrong... |
 |
| This picture shows the front brake cable housing routing from the front brake to the handlebar (it goes under the bar tape). This cable housing is gray (original to the bike). The shifter cable housings are white because I had Freddy (local bike shop) replace the shifter cables for me several years ago. I brought him the cables and housing to use. |
 |
| Folding back the lever hood reveals the bar tape and some soft gel padding material. |
 |
| Took off the old bar tape. It was worn in the area near the brake lever so it will be replaced. There's some very squishy gel like material that's applied to the handle bars in strategic locations to cushion the hands. These work very well & I'm going to reuse them. |
 |
| To release the clamp that holds the brake lever assembly to the handlebar, you insert the Allen wrench along the side of the assembly, behind the hood. |
 |
| There's rust on the brake lever assembly clamp. The sea air is attacking all the components that can corrode... |
 |
| Took off the gel padding (& the bar end cap). |
 |
| Only the lever assembly needs to be removed now... |


