Before vacuuming. The bottom drawer inside is in the worst condition of all the drawers. The sides are covered in dents and black grease/dirt. The felt on the bottom is covered in grease/dirt.

Closer view before vacuuming, LH side of the drawer

Closer view before vacuuming, RH side of the drawer

Another view of the LH side

After cacuuming

Closer view after vacuuming, LH side of the drawer

Closer view after vacuuming, RH side of the drawer

Side of the drawer with the drawer guide slot

Bottom of the drawer, showing that this is the only drawer with a wood bottom. It's made of a thin, three-layer piece of plywood.

"28-B" on the drawer back panel. Same as what's written on the inside bottom of the case.

LH side of the drawer front before cleaning

RH side of the drawer front before cleaning

Middle of the drawer front before cleaning.
There's a dark oval shadow in the middle where the original "Gerstener & Sons" label would have been.

During the cleaning process. There's a spot of white contaminant on the drawer front. Using a sharp blade, scraped it off...

After scraping off the white spot...

The LH knob before cleaning. There's also a dark contaminant on the top left of this picture that was scraped off with a blade.

After scraping off the black contaminant...

These other dark spots are more like stained spots. It's not a contaminant sitting on top of the wood surface, so it can't be just scraped off...

This spot is something that scraped off...

After scraping off the above picture's contaminant spot...
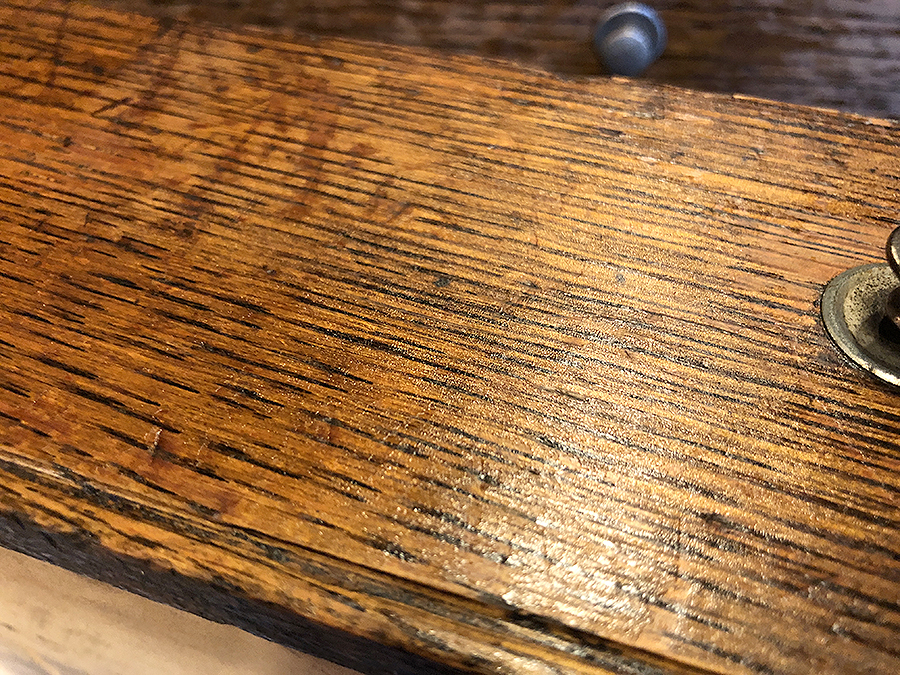
RH knob, before cleaning the top surface.

LH knob, before cleaning the top surface.

LH knob, half way through the cleaning.

RH knob before cleaning.

LH side of the drawer after cleaning.

RH side of the drawer after cleaning.

The drawer after cleaning. There's some stains on the bottom of the drawer that I'll leave alone (not visible).

Now all the drawers have been cleaned.

Straight front view of the drawers.

Closer view of the LH side of the drawers.

Closer view of the RH side of the drawers.

Another closer view of the LH side of the drawers.

Another closer view of the RH side of the drawers.

There are areas where the original finish (varnish?) has been worn off, showing a lighter colored wood below.

I don't really mind the blotchiness of the surface of the drawers but in order to apply some protection to the drawer front wood and to even out the finish a little bit, I'll apply a cherry colored stain next.

This is easy to use. Just apply to a clean cloth and rub it on the surface of the wood and let it sit for a few minutes to be absorbed.
Then, rub off the excess and lightly buff.
That's it.
It's not an impermeable hard top coating, like a urethane spray, but it will protect the wood. It may require reapplication at some point but usually will be good for several years...


