Tuesday, November 24, 2020

Old & Rough Tool Case - part 33 -- Cleaned & installed top rear corner protectors

I got tired of hand cleaning the corner protectors using steel wool.
I decided to use a steel wheel on the two rear ones.
This is after the cleaning.
It's a little bit more shiny than the fronts (there's a little bit of patina left but not as much as on the fronts).


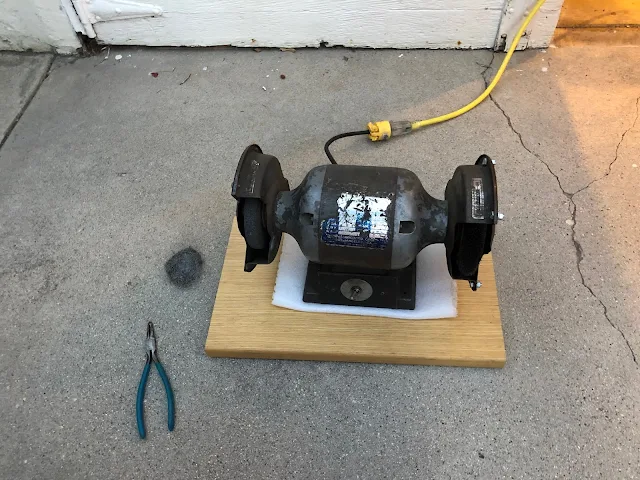
This is the power wheel that I used.
The right side is a coarse steel wire wheel.
It's an old grinder and after I cleaned the corners, it stopped working.  A little bit of acrid smoke too...
Will take it apart one of these days to see what happened inside.
It may be toast...


Installed the left rear one...


And the right rear...  Done.
Decided to not do the bottom corner protectors for now.
When I either fix the grinder or get another one, I'll use the steel wire wheel to do the bottom corner protectors...

 

Thursday, November 19, 2020 -- Manhattan Beach Pier - Rough Waves & Windy

The ocean is a bit on the rough side today.  Looks like decent waves too...


The flag shows how the wind is stiff today.
It was tough, riding against it, going back home...


Broken Toaster/Oven -- Part 3 and last -- Installed the new switch & cleaned. Done...

De-soldered the white wire from the old broken timer.

I'm a little surprised that the power wires are soldered to the timer switch, instead of using connectors.

Used an old Weller soldering gun.  Worked  well.

The old timer switch had some broken plastic inside.
The red arrows point to a plastic "wall" inside the switch that had broken into pieces.
Probably the root cause of the timer switch not working...

New timer soldered in.

This is the correct position/orientation of the switch.

Put the front cover on loosely and attached the switch and the selector.

There's some debris on the bottom of the unit.
Using a putty knife, this area was cleaned before installing what goes over this area.

On the bottom on the unit, installed this piece that holds the removable debris tray in place, with four screws.

The tray holder was installed.  In total, there's fourteen screws that go on the bottom of this unit (!)

After finishing assembling all the pieces (including the back panel), spent some time cleaning the exterior of the toaster.
Also cleaned the glass on the front door.
Took more time to clean the toaster than to install the new timer switch and reassemble the unit...

Toaster back where it normally lives on the kitchen counter.

There's three heating elements on this toaster.
They look kinda like fluorescent tubes but in this case, they get very hot & glow orange when energized (like in the picture below).
The selector switch allows you to turn on the top rack area, the bottom rack area or both areas at the same time.