Sunday, January 3, 2021
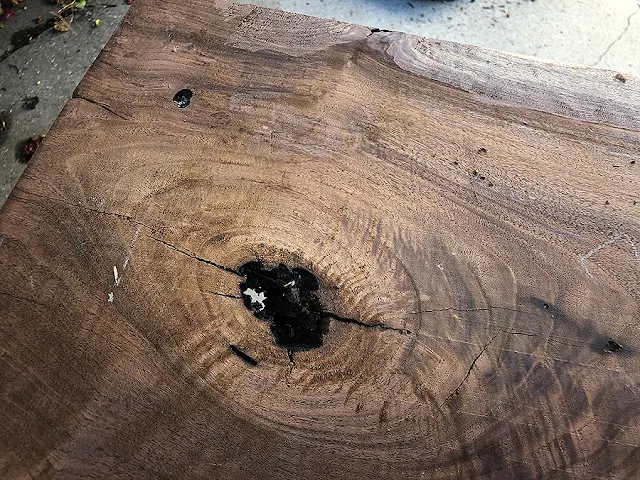
Dining table bench - part 2 -- Plane the top surface...
Turning this crew adjusts the tightness of the clamping action of the lever...
Lever loosen the blade assembly.
The knob at the back adjusts the depth of the cut.
Plane out most of the chatter marks...
Using the chisels to clean up the "live" edge...
Adjusting the front brake pads...
I had adjusted the brake pads to match the "Look" brand wheels I was using, before I swapped in the new rear cassette on the original Mavic wheels.
Now, all the pads need to be adjusted for the Mavic wheels.
This is the right front brake pad.
It's pretty out of position...
This is the right front pad after adjusting.
Now it's centered pretty well on the braking surface on the wheel.
This is the Left Front brake pad.
It's not too bad but is adjusted too high.
After adjusting, the pad is now centered on the braking surface on the wheel.
The rear of the pad is also centered on the braking surface.
I didn't take pictures but I also adjusted the brake cable so that the gap between the pads and the wheel is smaller.
This results is less "dead" response to the brake lever when pulled.
Basically, you want to adjust the brakes so that the pads are as close as possible to the wheel while not rubbing at all when the brakes are not applied.
The more "true" the wheel is, the smaller the gap can be.
Subscribe to:
Comments (Atom)


