Friday, May 29, 2020
Garage door hinge repair -- RH Bay, Left side door
 |
| Bottom hinge... |
 |
| All five of these old wood screws are loose and backed out. The wood in the screw holes have deteriorated and the repeated stress has made them back out... |
 |
| Middle hinge screws. They're mostly still relatively tight but would also benefit from the longer screws. |
 |
| The original screws removed from the top hinge... |
 |
| Got these #14 x 3.5" screws from the local Ace hardware store (15 of them). |
 |
| The original screw appears to be close to a #14 but slightly thicker. (#16 is the next size up but it's much beefier and would not even fit through the holes in the hinge...) |
 |
| The head on the new screws are slightly smaller (& Phillips instead of flat) |
 |
| Maybe about 1.5 mm smaller head. It's good for sitting flush to the hinge. |
 |
| The last 1/4" of the drill bit is narrower (like a pilot section before the full diameter of the drill bit...). |
 |
| Top hinge. All the screws went in tight (the drill bit and hole depth was just right). |
 |
| Prior to putting all the screws in the top hinge, the door was shimmed up off the ground so that once the hinges are tight, the door won't drag on the ground. |
 |
| This is the middle hinge. Cleaned the paint out of one of the screws & removed it. This screw was loose. |
 |
| Replaced the one screw with the new longer screw. It went in nice and tight. Will replace the other four screws too. |
 |
| All the screws were replaced on the middle hinge & they all went in nice and tight. |
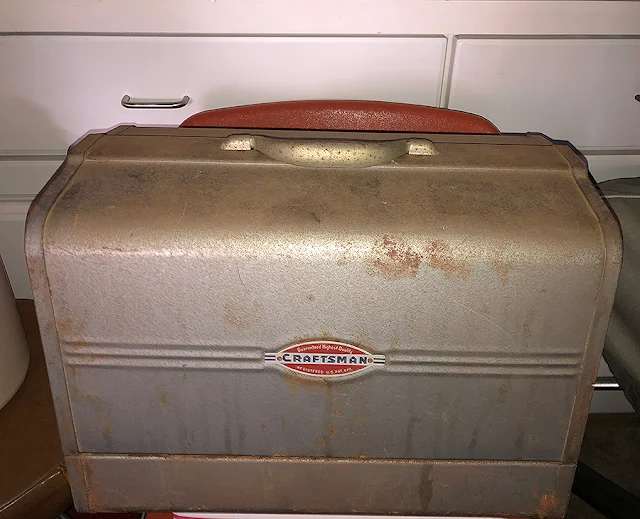
Garage Organizing - part 36 -- Vintage Craftsman Circular Saw Storage Case
 |
| This stuff came with the case (but the saw did not come with it when I bought the case, as is...). |
 |
| A "nail cutting" blade & some instructions. |
 |
| There's some good basic information provided on the blade packaging. |
 |
| More good info on the back of the saw blade packaging... |
 |
| Blade has been used but the teeth look good... |
 |
| Made in USA... |
 |
| Also came with these tools and a Craftsman saw lubricant... |
 |
| Have not heard of "Advance Saw Works"... |
Friday, May 22, 2020 -- Marina Del Rey -- Fastest ride in a while...
Garage Organizing - part 35 -- The LH End Lower Cabinet Drawers
 |
| Actually, this is the drawer over the LH most lower cabinet (which makes it the second unit from the LH end of the rear counter). |
 |
| This is the top drawer of the LH end lower unit (it has three drawers.). This is the shallow drawer... |
 |
| This is the middle drawer (mostly tape & some sand paper and painting supplies...). Forgot to take a picture of the bottom drawer... |
Subscribe to:
Comments (Atom)


