Monday, January 13, 2020

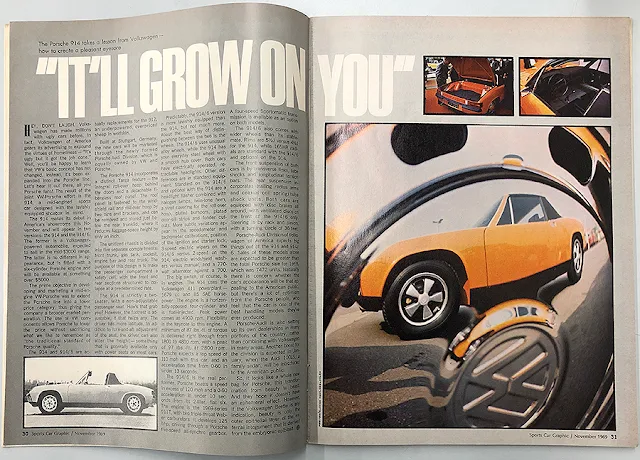
Pasadena City College Swap Meet - Sunday, January 5, 2020 -- Sports Car Graphic Magazine -- November 1969


Pasadena City College Swap Meet - Sunday, January 5, 2020 -- 1979 Honda Accord and Civic Poster (folds out...)


Schwinn Paramount -- Took the bike for a test ride around the parking lot


The bike rode well.  The steering is very sharp at slow speeds.  I'm guessing that it may be just right for higher speeds.  The bike only has 6 rear speeds but it feels fast.

The SIS rear derailleur shifter and shifting was surprisingly good and easy.  The lever clicks through the gears with positive and easy detents and feels precise.  The gears shifted easily and went from gear to gear precisely without any issues.  SIS works really well.

I need to adjust the brakes so that the pads are closer to the rims (for faster response to the levers and for better stopping power).

I also need to adjust the rear derailleur hanger so that the largest rear gear can be used without the derailleur contacting the spokes on the wheels.

I also need to raise the seat just slightly (maybe 1/4 to 1/2 inch).

The mismatched front/rear tires look odd.  It would be good to get another gum colored tire for the rear.  The bicycle swap meet is this Saturday.  Will have to look for one...

Maybe I'll take this bike and ride it in the next Ciclavia...


Schwinn Paramount -- The rear wheel spokes are loose -- need to tighten (without screwing up the true...)

The smallest spoke wrench is what fits the nipples on this bike (3.2 mm).  One of the nipples is damaged so I had to use the 3.5 mm wrench (it's rounded over...).

I put more tension on the spokes and got the wheels to spin close to true.  I used the brake pads as reference on the bike and kept adjusting LH to RH to get it close enough...

Pictures of the wheels would not be too useful in showing the condition.

Proto 7/16" socket (7214-H) -- Before & After cleaning


After cleaning


Coleman Camp Stove -- Leaking LH valve was causing a small fire near the control knob -- Fixed

To get to the LH valve, the stove had to be completely disassembled!  All the parts are "nested" into each other and to get to the valve is to get to the "bottom" of the chain.

It's hard to see in the picture, but the plastic handle is slightly melted right near the LH valve knob (between the plastic handle and the metal base...).

The black wires are for the starter spark making circuit.  The LH valve's retaining nut (which was nested behind the plastic handle assembly) has been removed.  Now the LH gas control valve can be removed.

At first I thought maybe it's just leaking through the retaining nut (the one that's sitting on the ground).  But, thinking about it, that didn't make sense.  There's no seal between the retaining nut's hole and the needle valve shaft.  So, it's not meant to be sealed there and the root cause cannot be it.

The gas leak has to be between the needle valve and the housing that the valve is screwed into.


For reassembly, a little bit of Teflon take was used. 

The top needle valve is for the RH burner.  There's some dark colored grease on the valve/seals but the seals themselves are in OK condition.

The bottom valve is for LH burner and both rubber seals are pretty severely damaged.  Root cause of the leak...  The gas was getting past the damaged seals and past the few threads behind the seals...

I tried to find some seals/o-rings that are about the right size in the garage but could not find anything.  I also tried to make a seal using some rubber material but it was too difficult to make such a small ring.  Finally, I found some very small diameter rubber hose in the garage (maybe for a vacuum system).  It was almost the perfect size (the OD is slightly larger than needed).  I cut a couple of seals to width using a knife.

I installed the newly made seals as the bottom seal on both needle valves.  I took the good seals from the RH valve and used them as the upper seal on both valves. 

I applied some grease on the seals before reassembling.  I tested the burners after the stove was reassembled and they both worked OK.

During reassembly, I could not find one of the very small screwed that holds the upper tray to the bottom tray (there's 8 screws spread around the periphery).  It took me awhile but I finally found the missing screw about 8 feet away from where it should have been.  I must have kicked it at some point...


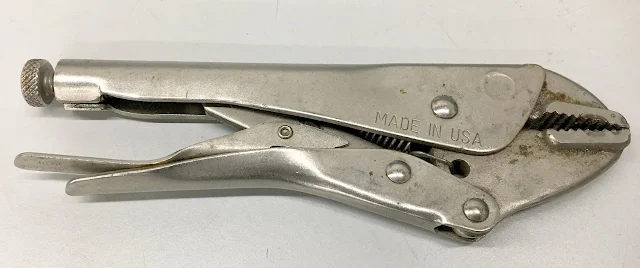
Stanley -- Adjustable Grip Pliers (before & after cleaning)


After cleaning


Saab 99 Engineering Features Brochure


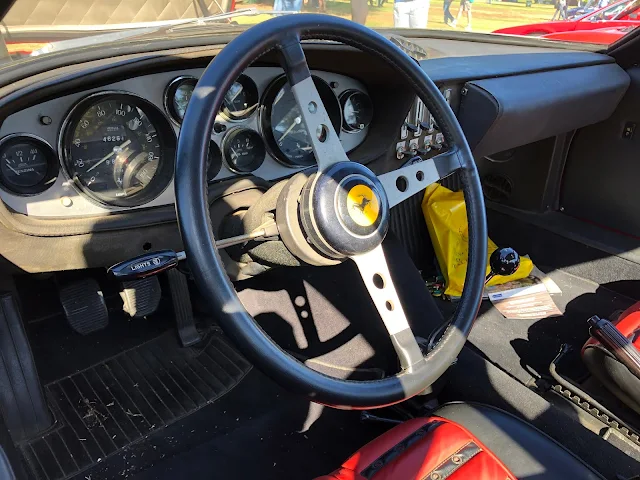
Vintage French & Italian Car Show -- Part 28