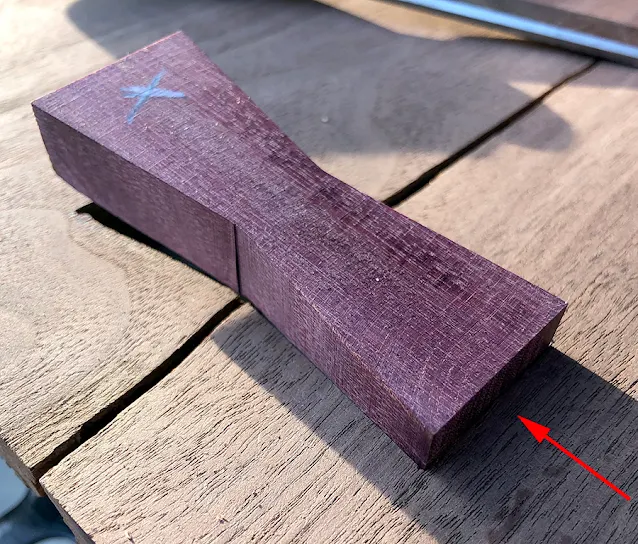
Start by chiseling to the inside of the pencil line on one side of the butterfly relief.
One side has been cut.
The butterfly seems to fit on the one side...
First check if the line on the other side is still accurate.
In this case, it's pretty close.
Cut the other side to fit...
About 75% of the shape has been cut and the fit is checked.
One end of the butterfly seems to fit well.
Finished cutting the rest of the shape and fine tune the cutout to make the butterfly fit tightly all around.
In this picture, the butterfly is about 1/16" pushed into the hole all around.
The fit is pretty tight.
Did a little more fine tuning and pushed the butterfly about 1/3 of the way in (drew a white line) and the fit seems good.
On the bottom side of the butterfly, sanded a chamfer all around to make the butterfly go more easily down and also to not interfere at the corners.
Glue applied.
Used a wooden hammer and a piece of wood to drive the butterfly all the way down.
Cleaned off the excess glue (the dark water staining will go away once the water dries).
The butterfly is about 1 to 1.5 mm over flush.
Will plane/sand it down next... (once the glue has dried overnight)


No comments:
Post a Comment