
 |
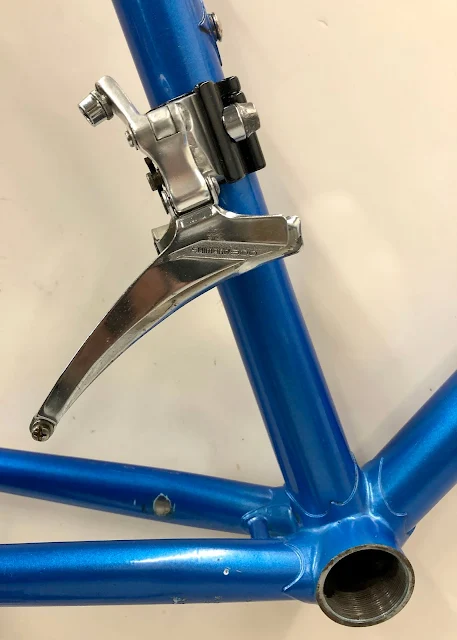
| Because this frame doesn't have a brazed-on front derailleur hanger, an adapter needs to be used. I happened to have this adapter already and it's the right size for the seat tube. |
 |
| Just a single Allen head screw is used to clamp it to the tube. |
 |
| The rear derailleur is just a simple one bolt installation. |
 |
| Backside view of the derailleur, showing the stop and screw that controls the position & rotation. |
 |
| Cleaned the front derailleur some more using steel wool. |
 |
| Cleaned up pretty good with the steel wool. |
 |
| Pretty much ready to be installed. |
 |
| Installed but not fully clamped in position. The position needs to be adjusted once the chain rings are installed, so the mounting screws are just snugged for now... |
 |
| I cut a piece of cable housing to about the right length (to allow for the derailleur rotation) and added end caps. It's ready for the cable to be installed. |
No comments:
Post a Comment