The new MCU is completely different than the old one. The electronics are different and even the case design is different.
But, all the “touch points” (connectors, mounting hardware, etc.) are the same so it installed easily.
How it came out of the box...

After installing and tying down the harness the same way as the original
routing/slack.
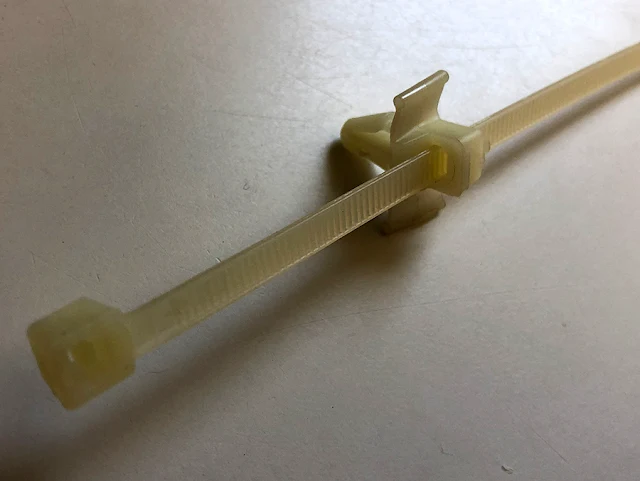
This flap at the top is a water deflector and is attached to the side of
the machine with an adhesive pad.
The same
connectors but the board that the connectors go into is completely different.
The very bottom
connector is the communication lines and the new MCU has a built-in connector
retaining clip system (the brown plastic around the connector).
It’s a very good
thing that the retaining system is there because the old MCU had a completely
different system and the retainers broke when I removed the connector!
There’s a plastic flap (with a living hinge) that covers the connectors
that just clips into place.
MCU installation finished. Pretty much exactly as the original in
almost every way.
I put the diagnostic information back where I found it (I put it in a
Ziploc bag first to keep moisture out).
Took some pictures for other components in the bottom of the machine for future reference. (motor and connectors in this picture).
There's a massive heavy looking weight mounted to the bottom of the tub assembly.
There's also four shock absorbers damping the tub motion/vibration.
This appears to be an "interlock" switch to tell the CCU that the lower cover is off.
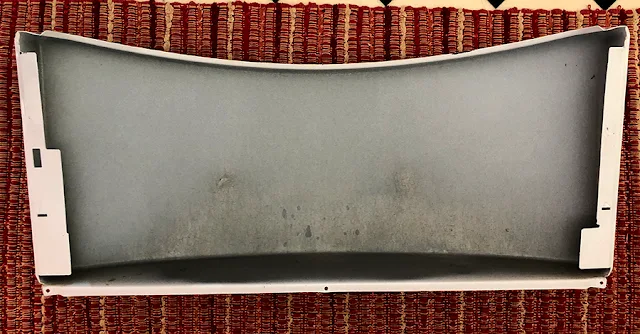
Cleaned the lower cover before reinstalling.
Put the lower cover back on. Finished.


No comments:
Post a Comment